Europe
  Türkiye
  United Kingdom
  Global


 0
0
3D printing is capable of creating strong polymer and metal parts. However, certain applications of 3D printed parts may require much more strength. Design and material selection are the most critical factors that determine the strength of a 3D printed part. However, even a well-designed part could show weakness and fail in service if other simple and important strength improvement techniques are ignored.
There are various techniques for strengthening 3D prints. These can be grouped into three broad categories: part geometry, print settings, and post-processing.
Part Geometry
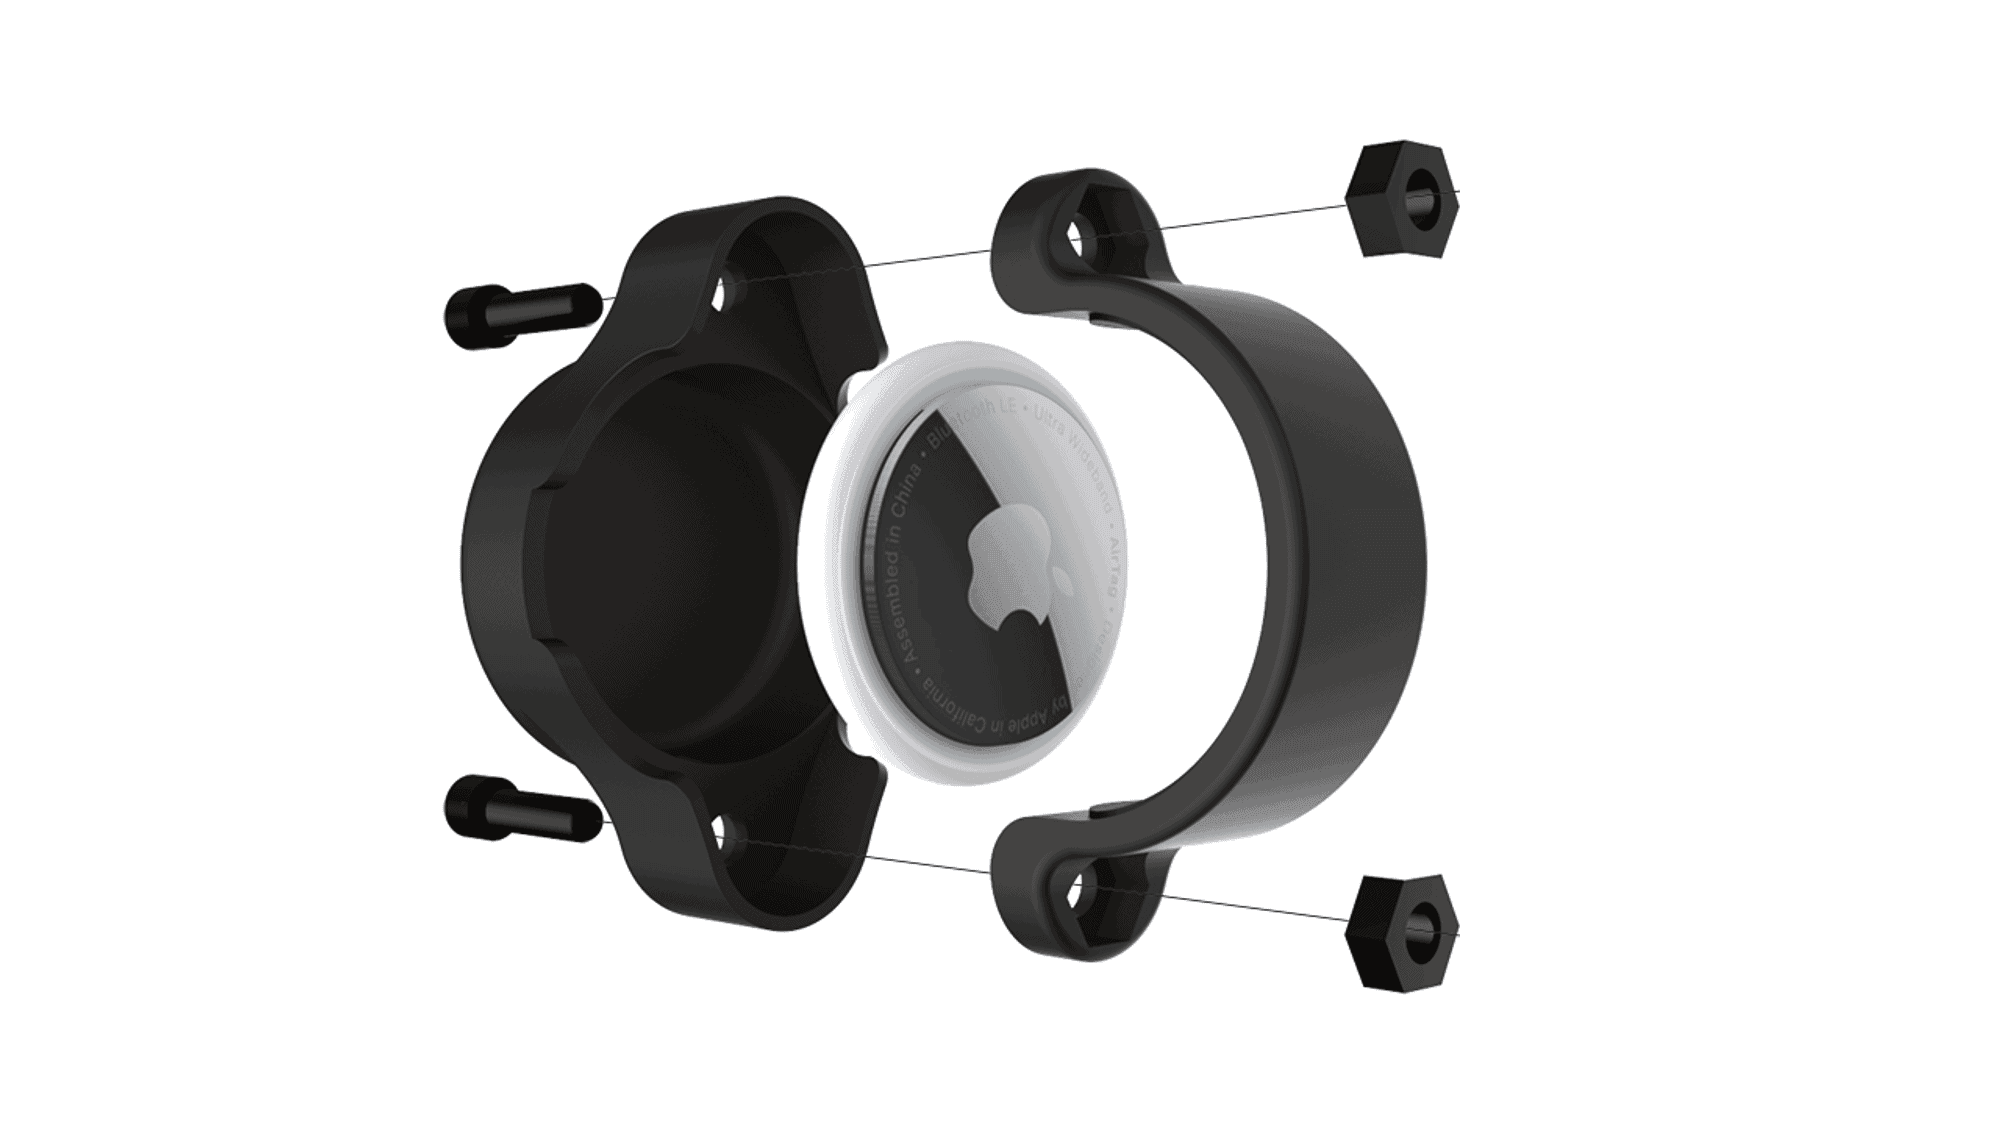
The geometry of the part plays a vital role in determining the strength of a 3D print. The use of fillets and chamfers increases the mechanical strength of edges, while gussets and ribs provide structural support.
- Use Fillets or Chamfers: Fillets or chamfers provide a strong foundation for thinner sections in 3D parts. They prevent the nozzles from knocking off delicate parts from the print.
- Use Ribs and Gussets: Ribs and gussets are thin extrusions that protrude perpendicularly from a wall or plane. They provide support and increase the strength of the part. The thickness of the ribs should be half of the wall thickness and should be spaced at a minimum distance of twice the walls’ thickness. Large and tall ribs should be avoided; instead, multiple small ribs should be used.


3D Printing Settings
Optimum settings of the 3D printing process are needed to produce stronger parts. These settings include the following.
Infill in 3D Printing
Infill simply refers to the amount of material inside the outer walls of the 3D part. This technique is commonly used in FDM 3D printing to increase strength. The infill setting is done in two ways, infill pattern and infill density.
Infill Pattern
This is a repetitive structure that fills up the space inside a 3D printed part. It is usually hidden from view. There are numerous styles of infill patterns. They include; triangular pattern, archi, rectangular, honeycomb or hexagonal, and concentric. Archi infill pattern is best suited for circular or rounded parts. The rectangular infill pattern is capable of giving a 100% dense part because of its parallel and perpendicular grid. The hexagonal infill pattern provides the highest strength-to-weight ratio, but it takes the longest time to print.
Infill Density
A 0% infill has no infill, and a 100% infill gives a completely solid part. The 100% infill makes the strongest part. However, in many cases, it is an unnecessary use of material that increases weight and cost. The honeycomb pattern is best for percentages of less than 50%, while the rectilinear pattern is best for percentages above 50%. Common infill densities are between 20% and 25%.

Part Orientation
3D printed parts are strongest in planes parallel to the build enclosure because the molecular bond in a layer is much more than the adhesive bonds between layers. These are the X and Y planes. Though this technique is common to FDM 3D printing, it can be used in other processes such as SLA and SLS to improve strength. Part orientation is dependent on where the loading and pressures will be experienced in the part.

Shell Thickness
This plays a significant role in strengthening 3D parts. A thicker shell makes a part stronger. For FDM printing, a shell thickness that is 3 to 4 times the nozzle diameter is best for parts that will be subjected to heavy and sustained loading. Most 3D printing processes use a standard minimum of about 1mm thickness. However, increasing this will improve the tensile and impact strength. For detailed information on recommended thickness for other 3D printing technologies please go through our design guides.
Post-Production Processing
To further increase the strength of printed parts, you could also consider post-processing. The following post-processing operations that can greatly increase the strength of 3D printed parts.
Annealing
Annealing is simply a process of heating a 3D printed part and allowing it to cool gradually in order to relieve the internal stresses resulting in a tougher part. While metals and glass can be annealed, not all polymers can be annealed. Some materials that are suitable for annealing are PLA, PET, and PA 12.
Electroplating
Electroplating is a post-printing technique that involves immersing the part in a solution of water and metal salts. When current is passed through the solution, metal cations form a thin coating around the part. This technique can be applied to 3D parts from FDM, SLS, SLA, or SCM printers. It gives the part a near-identical mechanical property to metal parts, and so is a far cheaper alternative to metal 3D printing for several applications.
However, electroplated parts are still plastic inside and so if they are heated to a higher temperature than the softening temperature of the interior plastic, then the inner strength is lost; even as the exterior metal doesn’t melt. Several metals can be used for electroplating, such as zinc, chromium, nickel, copper, etc. Before electroplating, it is important to prime the 3D part to establish a conductive surface suitable for the metal to adhere to. Graphite is commonly used for the priming.
Resin Coating
Epoxy resins or polyester resins can be used for coating 3D printed parts. Epoxy coating is an insoluble surface coating that is done with epoxy paint. The paint contains two chemicals; an epoxy resin and a hardener. The resultant coating is usually more durable and tougher than uncoated parts. However, epoxy coating is not appropriate if extreme geometric accuracy and sharp edges are needed for the part. Polyester resins, on the other hand, are thin and can be spread over intricate parts. The resin begins to harden at 5 minutes after application and usually takes 24 hours to completely dry. Resin coating can be applied to any part from any printer.
Carbon Fibre Reinforcement
Carbon or glass fibers can also be used to reinforce 3D parts. Carbon fiber has an excellent strength-to-weight ratio and is best used for parts used in conditions of constant loading. Unlike carbon, glass fibers bend until failure. The fibers can be laminated in two ways:
- Short fiber reinforcement: In this method, the fibers are chopped and mixed with the thermoplastic to improve strength and stiffness
- Continuous fiber reinforcement: In this technique, the fiber has to be continuously integrated into the thermoplastic as it is being extruded and deposited. This technique requires two nozzles to print at the same time
Conclusion
At Xometry Europe, we offer various strengthening options for 3D printed parts as requested by customers. Simply head over to our instant quoting platform, upload your models, choose your options, and voila: your high strength 3D printed part will be delivered to you in just a few days.


 Download